beauty

BEAUTY BASICS: The four simple rules to do eyeshadow perfectly, literally every time.


Makeup can look easy once it’s all applied to the face, but the process can sometimes be a bit tricky. Our Beauty Basics series takes seemingly simple makeup steps and breaks them down into a short how-to guide. For our first piece, lifestyle writer Charlotte Begg explains eyeshadow.

So eyeshadow… it can take some practice.

I can’t count how many hours I’ve spent sitting in front of my mirror looking like I had a black eye.

But thanks to practice, YouTube beauty tutorials and makeup training, I now feel like I can do my eyeshadow when I’m half asleep (this is the case most mornings).

Ask a makeup artist: How do I get rid of eye bags? Post continues below.


Video via Mamamia


The thing is, once you get it, it all makes sense.

So today, I’ll be breaking down a simple, bronze smokey eye. I’ve used a palette that I’ve had for ages (I’m trying not to buy any this year), so any you have at home will do just fine.

And, before I get into this: these rules below are a combination of everything I have learnt over the years, doing makeup on myself and others. They are in no way definitive.

ADVERTISEMENT

Find what suits you and go for it, but hopefully, these tips will help you achieve that seamless shadow you’ve been trying for.

1. Know your colours

Before even getting close to your eyelid with a brush, you need to know what colours suit you.

Depending on both your skin tone and eye colour, colours that compliment will vary from person to person.

Firstly, if your skin is on the paler side and you would consider yourself cool-toned, then stick to colours with a cool undertone. Think silvers, greys and purples.

If you have an olive skin tone or can see you have a yellow undertone to your skin, then I’d suggest warmer tones – oranges, reds and browns.

Now, onto eye colour.

Simply putting it, think of the colour wheel (you know the one from primary school art days?), look at your eye colour and cross to the opposing colour. There are the complementary colours that will make your eyes pop.

So for green eyes, shades of purple and warm brown look amazing. Blue eyes best suit gold or bronze shades; nothing too dark or it will look harsh.

And, for both hazel and brown, darker, smokier colours look great – think browns and black.

2. Always use a transition shade

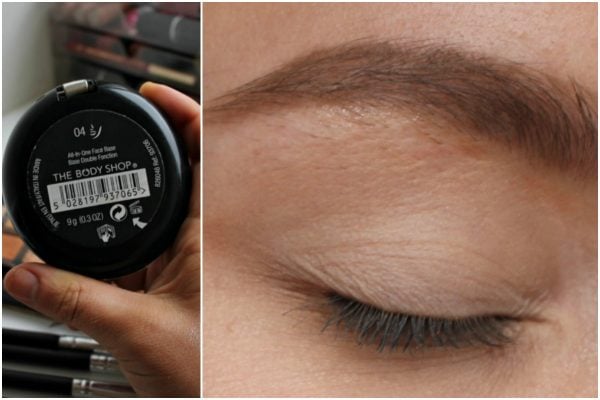
To start off, prime your eyelids with an eyeshadow primer, foundation or concealer (they will all do the trick) and set with a powder. This will ensure your eyeshadow holds throughout the day, without any creases.

ADVERTISEMENT
powder-only
I applied my trusty face powder all over my lid with a large flat brush. Image: Supplied/Charlotte Begg.

I like to use the Maybelline Instant Age Rewind Concealer, $19.99, with my The Body Shop Face Base Powder, $35, on top.

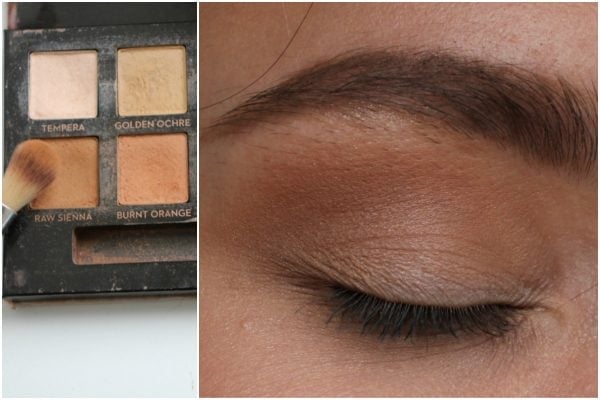
After that, begin applying your first shade to your eyelid.

This should be a 'transition' shade.

Choose a colour that is one to two shades darker than your natural skin tone, and apply it through the crease (where your eyelid folds).

ADVERTISEMENT

Apply it to the lids with a fluffy blending brush in a windscreen wiper motion - constantly moving back and forth until the colour looks buffed out across the crease.

TIP: Always tap off excess eyeshadow on your brush (it’s way easier to add more than to put too much on, to begin with).

By beginning with this colour, it will ensure that every colour applied after will glide on seamlessly and blend out nicely. So when adding lighter or darker colours, they easily blend together, giving an ombre effect.

transition-shade
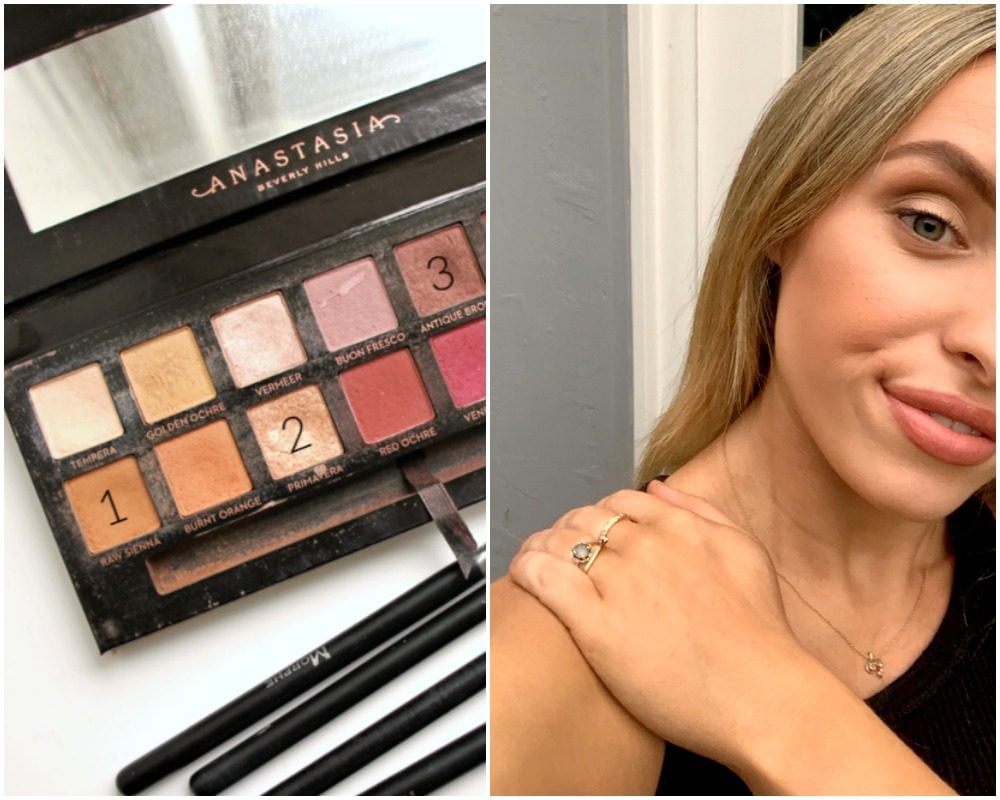
I applied the shade Raw Sienna with a blending brush. Image: Supplied/Charlotte Begg.
ADVERTISEMENT

I'm using the Anastasia Beverly Hills Modern Renaissance Palette, $80 (that I clearly love to death) throughout.

TIP: A trick I like to do especially for just a quick eyeshadow is using bronzer as your transition shade (perfect for workdays).

3. Build from lightest to darkest

After the transition shade is applied, it's now time to build upon it and add some colour.

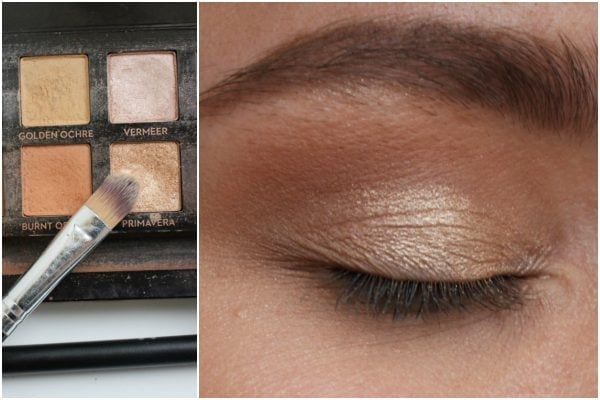
Start with the colour you'd like to appear on your lid, whether that be something shimmery or matte.

Use a flat brush to pack the colour all over the lid.

setting-spray
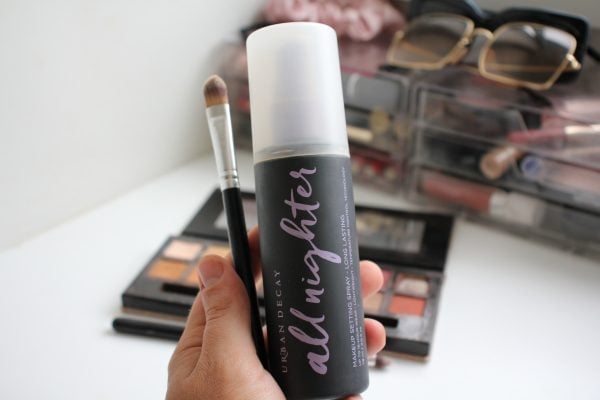
I love this setting spray as it lasts all day. Image: Supplied/Charlotte Begg.
ADVERTISEMENT

TIP: If you use shimmer on your lid, dip your brush in the colour and then spray it with any setting spray - it will make the colour much more vibrant.

Make sure to apply it all underneath the crease (this will make it easier to blend with the transition shade).

with-shimmer6
I applied the shade Primavera with a flat brush. Image: Supplied/Charlotte Begg.
ADVERTISEMENT

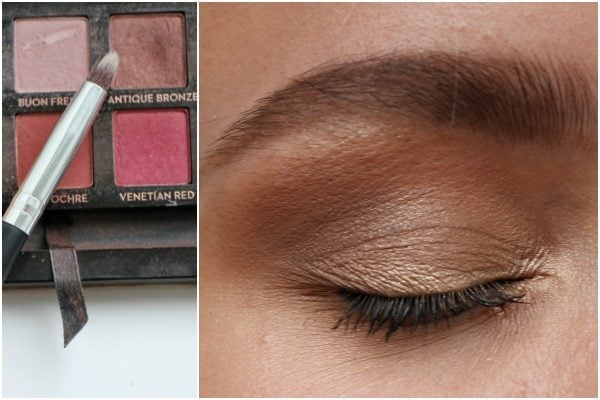
Once that is blended together, apply a darker shade to bring everything together.

A colour that's a few shades darker than your transition shade tends to work best, or you could be bold and go for a dark brown or black. Whatever you feel like!

When applying the darkest colour, think about how you want your eye to look. Personally, I place most of the darker colour in the outer corner so it makes my eyes look bigger and more awake.

with-darkest-colour
I applied the shade Antique Bronze with a tapered blending brush. Image: Supplied/Charlotte Begg.
ADVERTISEMENT

4. Blend, blend and blend.

Lastly, but most importantly - from beginning to end, remember to blend.

Remember how I discussed the windscreen wiper motion earlier? Constantly do it.

With every colour you build, do this motion back and forth, for longer than you think. The longer you blend - the more seamless the colours look together.

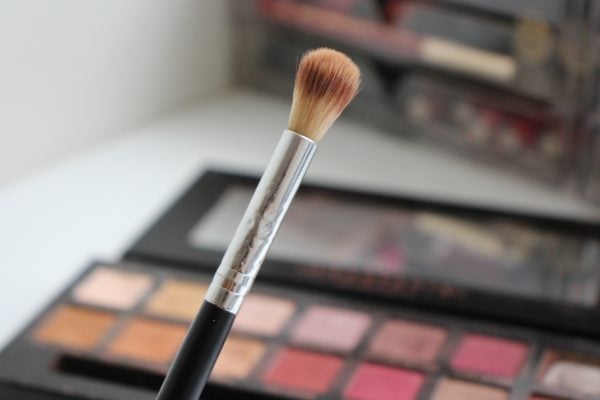
After I apply the lid shade, I'll go through with the same brush I used for the transition shade to blend the two colours together.

blending-brush
My holy grail blending brush. Image: Supplied/Charlotte Begg.
ADVERTISEMENT

And once every colour is applied, go over all the eyeshadow with a clean brush to ensure you've evenly spread your shadow across the whole lid.

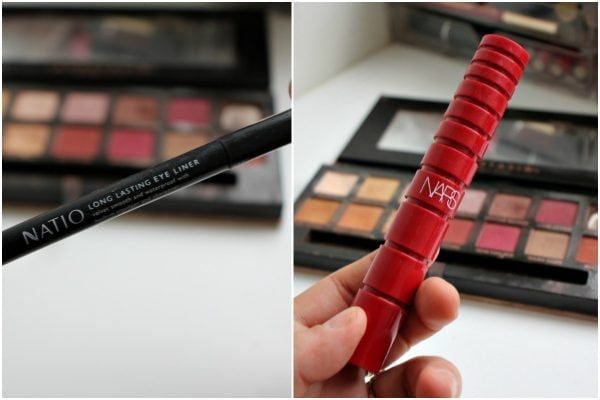
And finally, add some eyeliner in your upper waterline and swipe on a coat of mascara.

final-touches
Final touches to bring it all together. Image: Supplied/Charlotte Begg.
ADVERTISEMENT

The two I used were the Natio Long Lasting Eye Liner, $15.99, and the Nars Climax Mascara, $40.

And you're done!

And that's the finished look! Image: Supplied/Charlotte Begg.

Feature image: Supplied/Charlotte Begg.

This article was originally published in 2020 and has since been updated.

Do you have any handy tips and tricks you swear by for eyeshadow? Let me know in the comments.

00:00 / ???